Constructing a Low Pressure Alcohol Stove:If you try this - do it outside away from flamable material and yourself. These things are dangerous and can explode. Some folk have cautioned against lighting it with the fill hole uncovered. You play at your own risk.
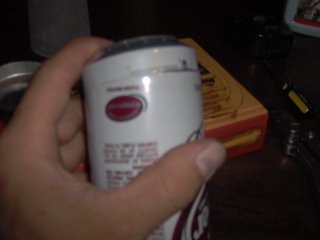
This Alcohol Burner is constructed of two coke can bottoms nested together in the manner in which it comes out looking like a midget coke can with two bottoms. It is helpful to scrounge around and find to cans of different diameter. If you have calipers get them out, ; even .010" (that's ten thousandths or 10/1000 of an inch girls) will matter. But most cans are the pretty close to the same size. If one is slightly larger than the other mark it for use as the "top".
The stove is constructed in just a few simple steps as follows:
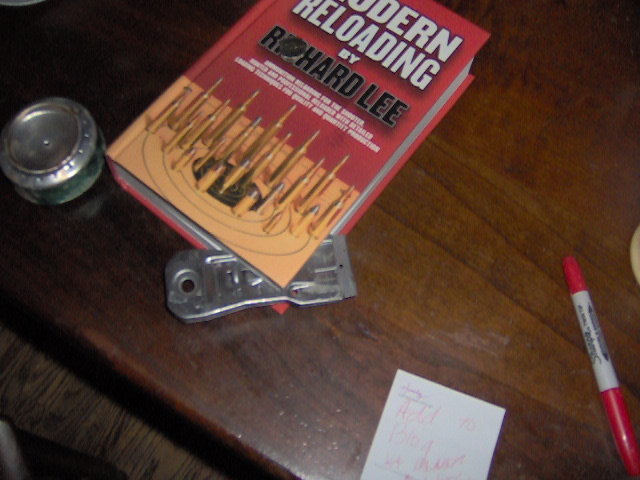
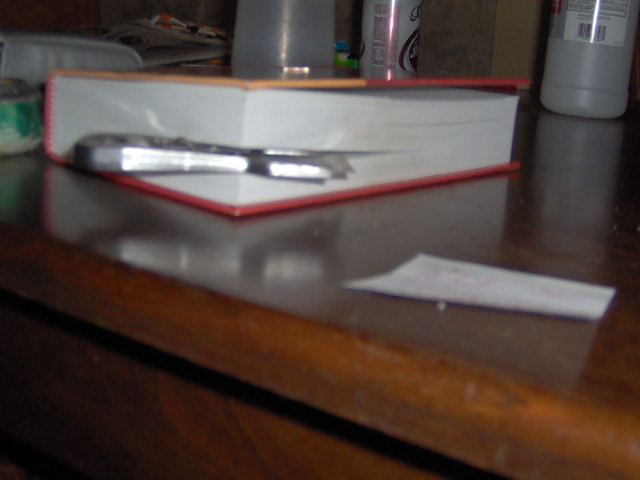
Place a razor blade (in a safety holder) in the pages of a hardback book. Loading manuals work great. Rotate a coke can while pressing the can against the razor blade to "score" the can. You are not slicing the can with the razor blade, just putting a deep scratch into it.


You can see the note MrsJAC wrote me so I would be sure and add a caution about playing with dangerous stuff.


Once you have completed the scoring work your fingers on either side of te score to initiate an propogate a slit around the can.
Repeat once more on another can.
Now, mark 16 equidistant points around the circumference of one can bottom (use the larger diameter of the two if you determined a difference) with a "Sharpie". The marks go just outside of the raised ring on the can bottom. Poke small holes at the points you just marked. Use a pushpin or a sewing pin held in a pair of pliers. It is important that these holes very small.
Poke a hole in the center of the same can bottom. This one needs to be large enough that alcohol will readily flow through it. This is the "fill" hole.
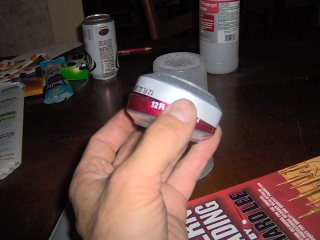
This same can bottom must be stretched to fit over the other can bottom. Do this by pressing it onto a third (unmolested) can AT AN ANGLE. Do not press it straight onto the bottom of the can - it will stick and nevercome off. Rotate the angled can bottom against the other can while pressing on it.
Slip the stretched can with holes over the other can bottom. press these together, but do not "mash" them. Closing them up too far will cause the inner can bottom to warp and leak between them. I wasn't real confident in the seals on either of my stoves so I Used some J-B Weld to seal it up.
Fill the device with alcohol until there is a small puddle over the fill hole. light it.
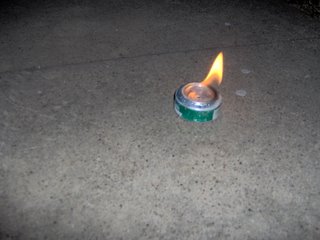
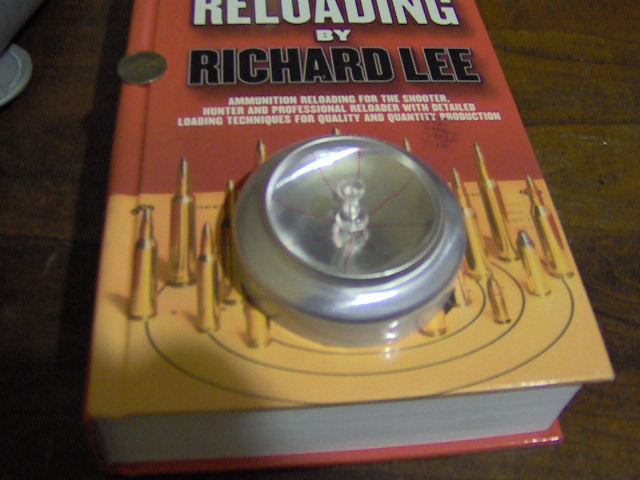
It take a bit to get it hot enough to burn through the perimeter holes but it will. Once the perimeter holes light drop a coin over the fill hole to prevent it from spewing burning alcohol everywhere.
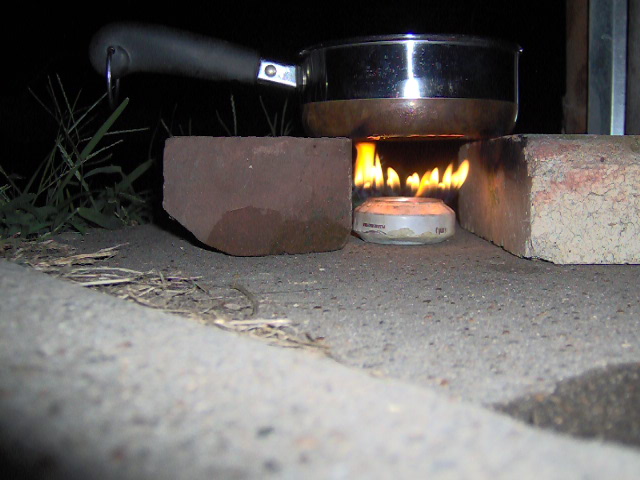
If you have trouble getting it to start you can hold a lighter to the side of it. I am constructing a base pan that I can put a little alcohol in to start the stove rather than light it from the top. The alcohol burning in the base pan will boil the alcohol in the stove and get it cranked up and running.
The one below is burning too rich (I think the holes are too big) and still boiled a pan of water in under 5 minutes. Total burn time was 24 minutes for about 2 ounces of alcohol.